I know how it feels to look at your tonneau cover and think, “Yikes, that needs some serious cleaning!”
But before you rush out to buy expensive cleaners, let me share a secret with you.
I’ve discovered three amazing homemade solutions that’ll make your tonneau cover shine like new, and I bet you already have most of the ingredients in your kitchen!
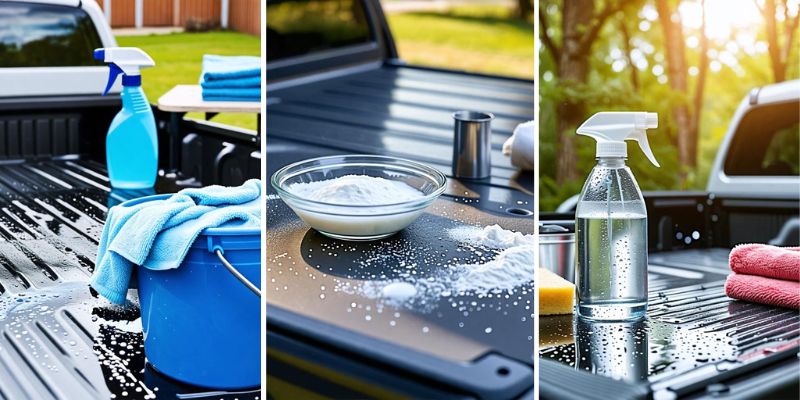
In this guide, I’ll walk you through each cleaner, step-by-step, and share all my tricks for keeping your cover in top shape.
Trust me, once you try these, you’ll never go back to store-bought cleaners again!
Preparation and Safety
Before we dive into the cleaning process, let’s make sure we’re set up for success.
I always start by gathering everything I need and setting up my work area. It makes the whole process so much smoother!
Gathering Materials
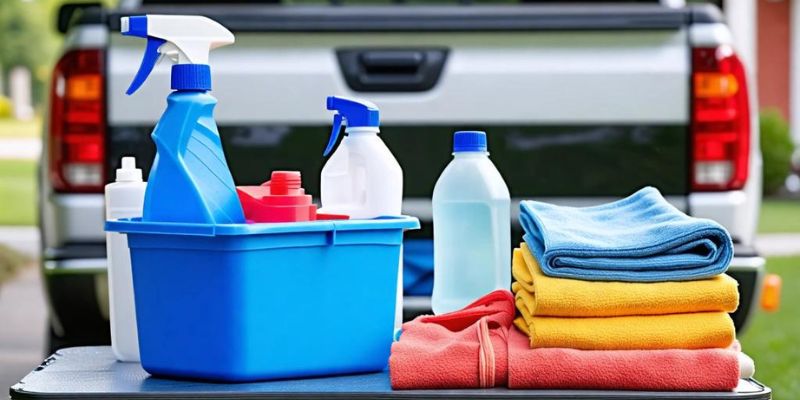
Here’s what you’ll need for all three cleaning methods:
- Soft microfiber cloths (I use at least 3-4)
- A bucket
- Warm water
- Spray bottles (one for each solution)
- Dish soap
- White vinegar
- Baking soda
- A soft-bristled brush (optional, for tough spots)
I like to lay everything out on a small table near my truck. It saves me from running back and forth and makes the job go much faster.
Protecting Your Work Area
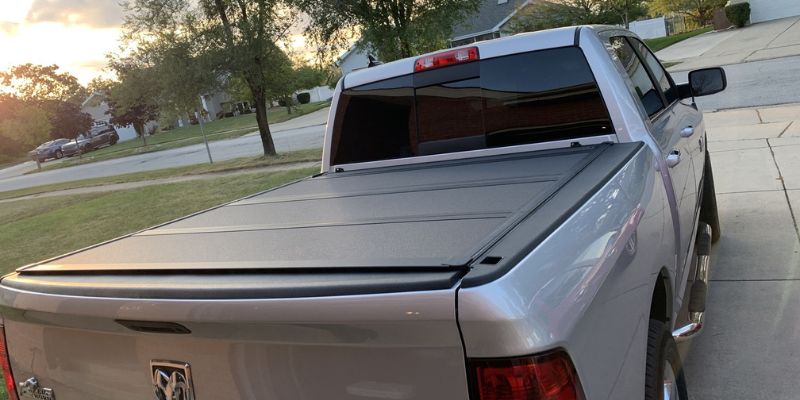
Now, I know we’re working with pretty mild stuff here, but it’s always better to be safe than sorry. Here’s what I do:
- I park my truck in a shaded area. Direct sunlight can dry the cleaning solutions too quickly and leave marks.
- If I’m working in my garage, I put down some old towels or a tarp under the truck. It catches any drips and makes cleanup a breeze.
- I keep a couple of old towels handy for any unexpected spills.
Safety Precautions
Even though we’re using household items, it’s important to stay safe. Here’s what I always keep in mind:
- I wear rubber gloves to protect my hands. The solutions are mild, but frequent cleaning can dry out your skin.
- I put on some old clothes. Cleaning can get a bit messy, and I’d rather not ruin my good shirts!
- If it’s a windy day, I wear safety glasses. They keep any spray or dust out of my eyes.
- I make sure the area is well-ventilated, especially if I’m working in the garage.
Remember, safety first! Now that we’re all set up and ready to go, let’s get into the good stuff – our homemade cleaners!
Mild Soap and Water Solution
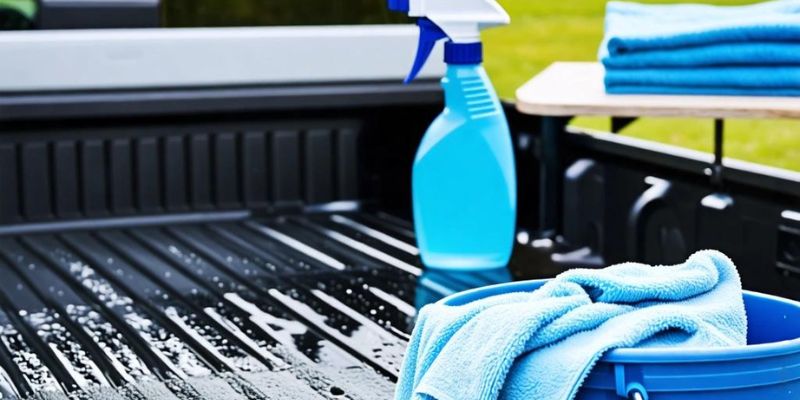
This is my go-to cleaner for regular maintenance. It’s gentle, effective, and so easy to make!
Ingredients
- 1 tablespoon of mild dish soap (I like the blue Dawn dish soap)
- 1 gallon of warm water
Mixing Instructions
- I fill a bucket with 1 gallon of warm water. Not hot, just comfortably warm.
- Then, I add 1 tablespoon of dish soap.
- I gently stir the mixture until I see some suds forming. Don’t go crazy here – we don’t want a bubble bath!
Application Process
- First, I rinse the tonneau cover with plain water to remove any loose dirt.
- Then, I dip a soft microfiber cloth into the soapy water and wring it out. We want it damp, not soaking wet.
- Starting from one corner, I gently wipe the cover in straight lines, overlapping each stroke slightly.
- I rinse my cloth frequently in the soapy water to avoid just pushing dirt around.
- For any tough spots, I let the soapy water sit for a minute before gently rubbing with the cloth.
- Once I’ve cleaned the whole cover, I rinse it thoroughly with clean water. This is super important to prevent soap residue!
- Finally, I dry the cover with a clean, dry microfiber cloth to prevent water spots.
Best Uses
I use this method about once a month for general cleaning. It’s great for removing dust, pollen, and light dirt. Plus, it’s so gentle that I don’t worry about using it regularly.
Vinegar and Water Mixture
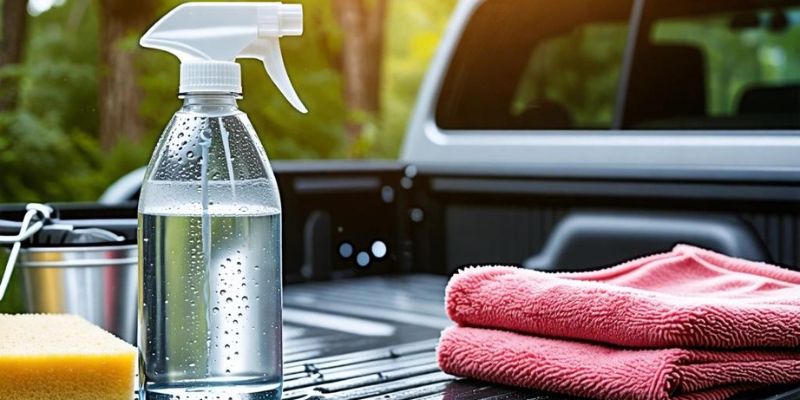
When I need a bit more cleaning power, especially for removing water spots or tree sap, I turn to my trusty vinegar solution.
Ingredients
- 1 cup white vinegar
- 1 cup water
Mixing Ratio
It’s simple – I use a 1:1 ratio of vinegar to water. This gives me enough cleaning power without being too harsh on the cover.
Application Process
- I mix equal parts vinegar and water in a spray bottle. Shake it well to combine.
- Before I start, I always test the solution on a small, hidden area of the cover. Better safe than sorry!
- I spray the solution directly onto the cover, focusing on one section at a time.
- Using a clean microfiber cloth, I wipe the area in a circular motion. The vinegar smell might be strong, but don’t worry – it’ll fade as it dries.
- For tough spots, I let the solution sit for a minute before wiping.
- After cleaning each section, I immediately rinse it with clean water. This is crucial to prevent any vinegar residue from drying on the cover.
- I dry the area with a clean, dry cloth to prevent water spots.
Best Uses
This vinegar solution is my secret weapon for:
- Removing water spots
- Cutting through tree sap
- Dealing with bird droppings (ugh, the worst!)
- Tackling light mildew
Just remember, while vinegar is great for cleaning, don’t use it too often. Once every couple of months is plenty for most covers.
Baking Soda Paste
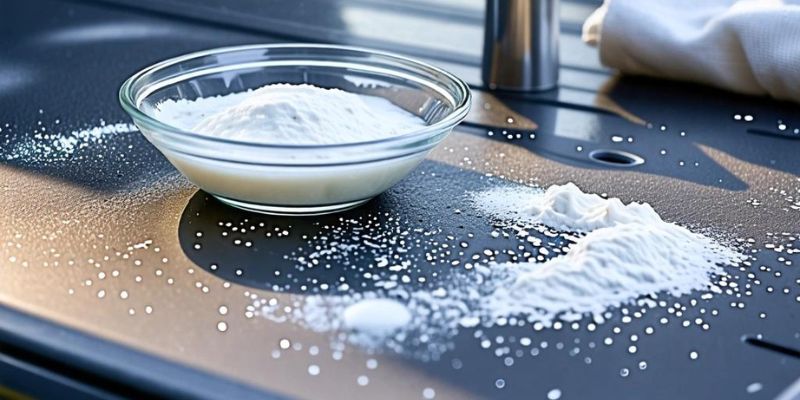
When I come across a really stubborn stain, it’s time to break out the baking soda. This paste is my heavy-duty cleaner for those tough jobs.
Ingredients
- 1/4 cup baking soda
- Enough water to make a paste (usually about 2-3 tablespoons)
Creating the Paste
- I put the baking soda in a small bowl.
- Then, I slowly add water, stirring constantly until I get a paste about the consistency of toothpaste.
- If it gets too watery, I just add a bit more baking soda. Too dry? A few drops of water do the trick.
Application Process
- First, I dampen the stained area with a little water.
- Using my fingers or a soft cloth, I apply a small amount of the paste to the stain.
- I gently rub the paste in a circular motion, working it into the fabric or vinyl.
- Then, I let it sit for about 5-10 minutes. This gives the baking soda time to work its magic.
- Using a damp cloth, I wipe away the paste. Sometimes I need to rinse the cloth a few times to get all the baking soda off.
- Finally, I rinse the area thoroughly with clean water and dry it with a clean cloth.
Best Uses
I break out the baking soda paste for:
- Really stubborn stains that soap or vinegar couldn’t handle
- Ground-in dirt
- Grease spots (like if I accidentally touched the cover after working on the engine)
Remember, baking soda is a mild abrasive. It’s gentle enough for most covers, but I always test it on a small area first, just to be sure.
Application Techniques
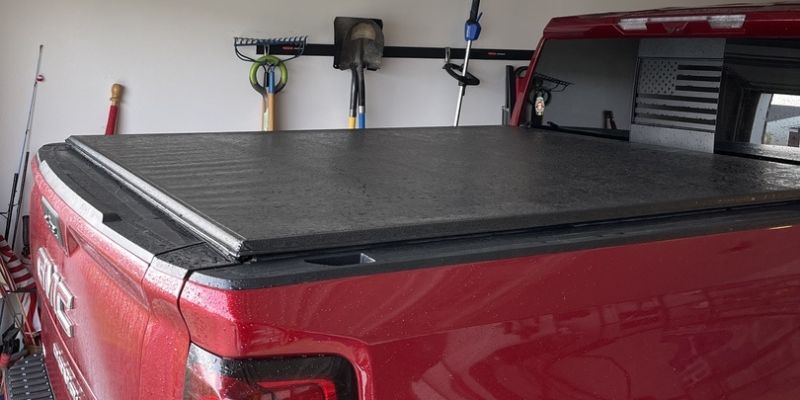
Now that we’ve covered our three super cleaners, let’s talk about how to apply them like a pro. Trust me, the right technique can make all the difference!
Soft Cloth Method
This is my go-to method for most cleaning jobs. Here’s how I do it:
- I always use microfiber cloths. They’re gentle on the cover and pick up dirt like magic.
- I fold the cloth into quarters. This gives me eight clean surfaces to work with as I go.
- I apply gentle pressure and work in straight lines, overlapping each stroke slightly.
- When one side of the cloth gets dirty, I flip to a clean side. No point in just pushing dirt around!
- For rounded edges or corners, I use small, circular motions.
Spray Bottle Technique
When I’m using the vinegar solution or need more control over the amount of cleaner, I use a spray bottle:
- I set the nozzle to a fine mist. We want to dampen the cover, not soak it.
- I spray one small section at a time, about 2 feet by 2 feet.
- I immediately wipe the sprayed area with a microfiber cloth, using the soft cloth method described above.
- I make sure to rinse my cloth frequently in clean water to avoid redepositing dirt.
Spot Cleaning
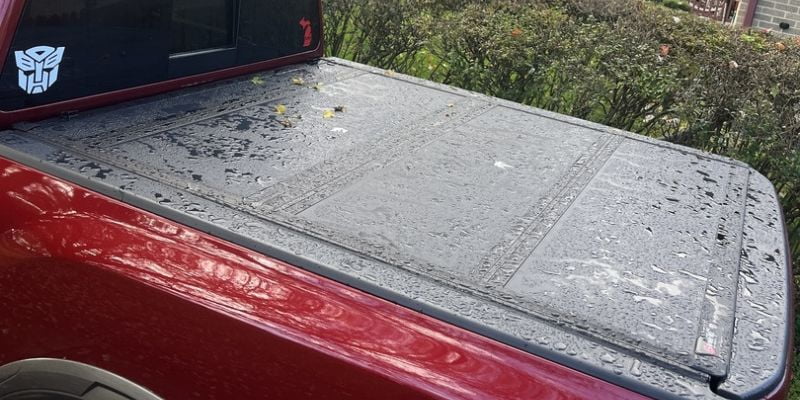
For those pesky isolated stains, here’s my spot cleaning technique:
- I dampen a corner of my microfiber cloth with the cleaning solution.
- Starting from the outside of the stain, I gently dab and work my way inward. This helps prevent the stain from spreading.
- For tough stains, I apply the cleaner and let it sit for a minute before wiping.
- I always rinse the spot with clean water after cleaning, even if it’s just a small area.
Remember, no matter which technique you use, the key is to be gentle. Tonneau covers aren’t meant to be scrubbed hard!
Rinsing and Drying
Believe it or not, how you rinse and dry your tonneau cover is just as important as how you clean it. Get this part right, and your cover will look amazing every time!
Proper Rinsing Techniques

Rinsing is crucial for removing all the cleaning solution and loosened dirt. Here’s how I do it:
- I use a garden hose set to a gentle spray. No power washers here – they’re too harsh for most covers.
- Starting at the highest point of the cover, I rinse in a sweeping motion, working my way down.
- I pay extra attention to the edges and seams where soap can hide.
- For vinyl covers, I make sure the water runs clear before I stop rinsing.
- For fabric covers, I’m extra thorough. They can trap soap more easily than vinyl.
Drying Methods
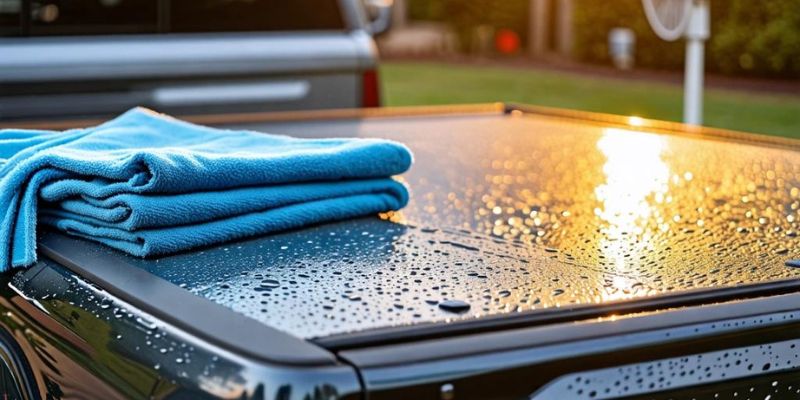
Proper drying prevents water spots and potential mildew growth. Here’s my foolproof method:
- I start with a clean, dry microfiber towel. It’s amazing how much water these can absorb!
- Using light pressure, I wipe in straight lines, starting from one end of the cover to the other.
- I frequently rotate to a dry part of the towel. A wet towel won’t absorb much!
- For fabric covers, I gently pat dry instead of wiping to avoid pushing water deeper into the fabric.
- After the initial drying, I let the cover air dry completely before closing it. This usually takes about 30 minutes on a warm day.
Avoiding Water Spots
Water spots are my nemesis, but I’ve found some tricks to avoid them:
- I never clean or rinse my cover in direct sunlight. The heat can cause the water to evaporate too quickly, leaving spots.
- If I see any beads of water after drying, I gently blot them with a corner of my towel.
- For really stubborn water spots, I use my vinegar solution. It works like a charm!
Maintenance Tips
Keeping your tonneau cover clean is great, but with a little extra care, you can make it last even longer. Here are some of my favorite maintenance tips:
Regular Cleaning Schedule
I stick to this cleaning schedule, and it works wonders:
- Quick rinse with plain water: Once a week or after any dusty drive
- Mild soap cleaning: Once a month
- Deep clean with vinegar or baking soda: Every 2-3 months or as needed
Protective Measures
Prevention is better than cure, right? Here’s what I do to keep my cover in top shape:
- I apply a UV protectant spray (303 Automotive Protectant) every few months. It helps prevent fading and cracking, especially for vinyl covers.
- If I know I’ll be parking under trees for a while, I throw a light tarp over my cover. It saves me from having to clean off sap and bird droppings later.
- In winter, I gently brush off snow instead of letting it melt on the cover. This prevents water from seeping into the seams.
Storage Recommendations
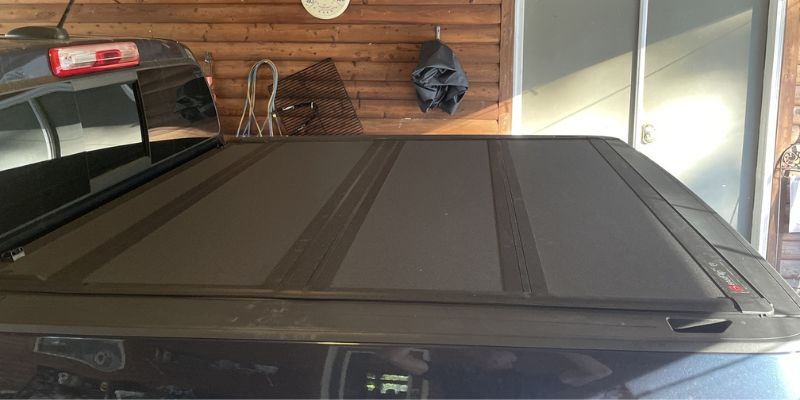
When I’m not using my tonneau cover, I make sure to store it properly:
- I clean and dry it thoroughly before storage.
- I store it flat if possible. If I need to roll it, I make sure it’s not too tight to avoid creases.
- I keep it in a cool, dry place away from direct sunlight.
- If I’m storing it for a long time, I throw a breathable cover over it to keep dust off.
Troubleshooting Common Issues
Even with the best care, sometimes problems pop up. Here’s how I deal with some common issues:
Dealing with Stubborn Stains
- For really tough stains, I make a paste of baking soda and water, apply it to the stain, and let it sit for about 15 minutes before rinsing.
- If that doesn’t work, I try a specialized cleaner made for tonneau covers, but I always test it on a small area first.
Addressing Discoloration
- For sun-faded vinyl, I use a vinyl restorer product. It brings back the color and adds UV protection.
- For fabric covers, I’ve had success with fabric dye sprays made for outdoor furniture. Again, always test in an inconspicuous spot first!
Handling Mold and Mildew
- I mix equal parts white vinegar and water in a spray bottle.
- I spray the affected area generously and let it sit for about 10 minutes.
- Then, I scrub gently with a soft brush and rinse thoroughly.
- After it’s dry, I spray with a mildew-resistant product to prevent future growth.
Remember, if you’re ever unsure about a cleaning method or you’re dealing with a serious issue, it’s always best to consult your cover’s manufacturer or a professional. Better safe than sorry when it comes to your tonneau cover!
And there you have it – my complete guide to cleaning and maintaining your tonneau cover with homemade solutions. With these tips and tricks, your cover will stay clean, protected, and looking great for years to come. Happy cleaning!
