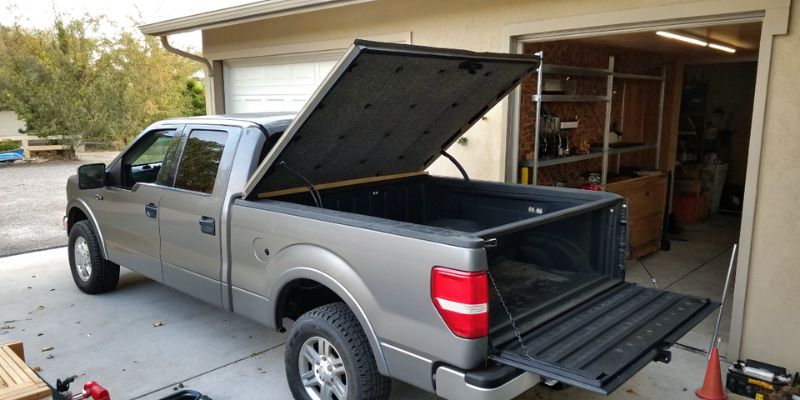
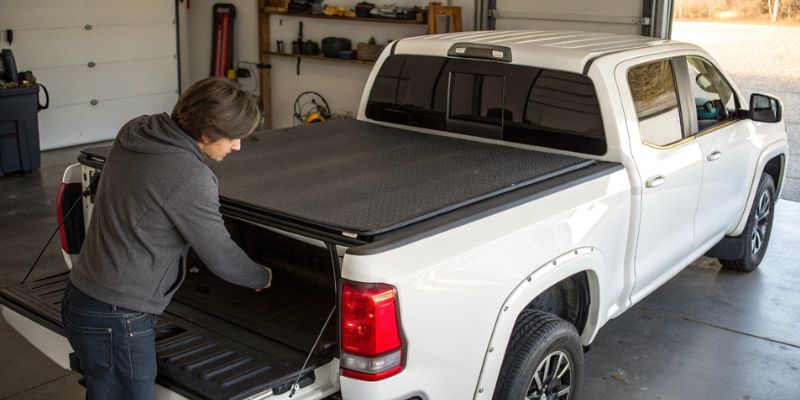
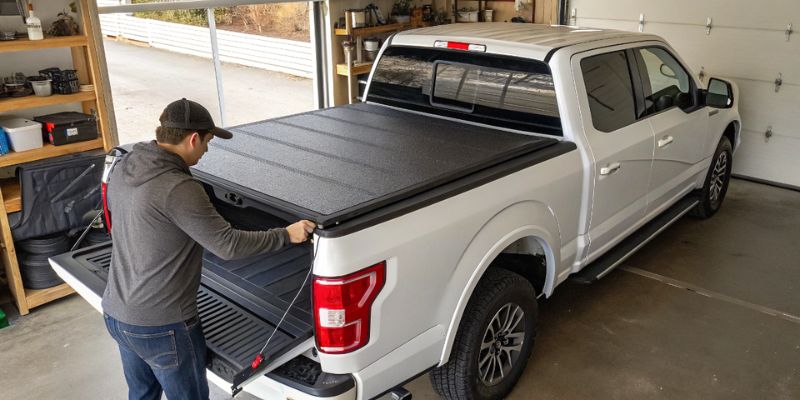
Shortening a tonneau cover involves measuring your truck bed, marking the desired length on the cover, and cutting it with a sharp utility knife. Secure the edges with heavy-duty adhesive or appropriate sewing to prevent fraying. Ensure modifications don’t impede the cover’s function.
Assessing Your Tonneau Cover for Alterations

Identifying the Type of Tonneau Cover
Before you begin the process of shortening your tonneau cover, it is crucial to identify the type of cover you have.
The common types are soft, hard, roll-up, and folding.
Each type has its own structure and mechanism, which will influence how you can alter it.
Soft covers are usually more pliable, while hard covers may require additional tools for cutting.
Roll-up and folding covers have unique panel or rolling systems that must be considered when planning alterations.
Understanding the Material Composition
Knowing what materials your tonneau cover is made of will determine the tools and methods for shortening it.
Soft covers are typically made of vinyl or canvas, while hard covers might be made of aluminum, fiberglass, or plastic.
The material not only affects the cutting process but also what adhesives or sealants will be effective in resealing the edges.
Measuring Current Dimensions
Accurate measurements of your tonneau cover are essential. Use a tape measure to find the exact length and width of your cover.
This step ensures that any cuts made will align perfectly with the size of your truck bed. It’s important to measure more than once to avoid any mistakes.
Determining the Desired Length and Feasibility
Decide how much of the tonneau cover you need to remove.
Consider any hardware or design features that might limit how much you can shorten the cover.
Some covers may have mechanisms or support structures that prevent shortening beyond a certain point.
Ensure that the alterations will not affect the cover’s functionality or compromise its structural integrity.
Preparing for the Shortening Process

Gathering Necessary Tools and Materials
Before cutting your tonneau cover, assemble all the necessary tools and materials.
Depending on the cover type and material, you may need scissors, a sharp utility knife, cutting tools, heavy-duty adhesives, and sealants.
Make sure you have a ruler or a straight edge to aid with straight cuts.
Gather all items beforehand to streamline the shortening process.
Creating a Clean and Safe Workspace
Find a large, flat surface to work on and ensure it is clean and free of debris.
A cluttered or dirty workspace can interfere with the cutting process and potentially damage the tonneau cover.
Safety should be your top priority, so also plan to wear protective gloves and eyewear to prevent any injuries.
Marking the Tonneau Cover for Cutting
After measuring the desired length, mark the cutting line on the tonneau cover using a non-permanent marker.
Be precise with your markings; any deviation might result in a poor fit.
It’s recommended to use a straight edge or a long ruler to ensure the line is perfectly straight.
Ensuring Precision in Measurements
Double-check your measurements before making any cuts.
Confirm that the marked line matches the required length reduction and that it is parallel to the cover’s existing edges.
Accuracy at this stage is critical as any errors are often irreversible and can lead to wasted materials and time.
Step-by-Step Shortening Procedure

Detailed Steps for Cutting the Tonneau Cover
Using the tools specific to your tonneau cover type, carefully cut along the marked line.0
If you’re working with a soft cover, a sharp utility knife should suffice.
For hard covers, you might need a saw or other power tools.
Always cut with steady hands and go slowly to ensure a clean edge.
Techniques for Sealing and Finishing Edges
Once the cover is cut, focus on sealing and finishing the edges to prevent fraying or damage.
If it’s a soft cover, heavy-duty adhesive or appropriate sewing can be used.
For hard covers, sealants are necessary to maintain waterproofing and durability.
Apply the adhesive or sealant smoothly and allow it to dry completely.
Reinstalling Hardware and Accessories
Some tonneau covers have hardware that will need to be reinstalled after shortening.
This could include latches, clamps, or tie-downs.
Make sure these elements are put back in the correct position and secure.
This step is essential to ensure the cover operates as intended and remains secure on the truck bed.
Final Fitting and Adjustments
Once all alterations are completed, place the tonneau cover back on the truck bed to check the fit.
Make any necessary adjustments to ensure a snug and proper fit.
Check for any gaps or issues with the cover’s operation, and address them immediately.
The cover should not only look good but also provide the same level of protection and functionality as before.
FAQs About Shortening a Tonneau Cover
How do I measure my truck bed before shortening a tonneau cover?
Measure the length and width of your truck bed carefully, using a tape measure, to determine the exact size before marking the tonneau cover for cutting.
What is the best tool to cut a tonneau cover?
A sharp utility knife is recommended for cutting a tonneau cover, as it allows for precision and control.
How can I prevent the edges of my tonneau cover from fraying after cutting?
Secure the cut edges with heavy-duty adhesive or by sewing them with appropriate materials to prevent fraying and ensure durability.
Can I shorten a tonneau cover myself, or should I hire a professional?
You can shorten a tonneau cover yourself if you have the right tools and follow proper measuring and cutting techniques, but hiring a professional is advisable if you’re not confident in your DIY skills.
Will shortening my tonneau cover affect its functionality?
Ensure that modifications do not impede the cover’s function, such as its ability to seal or lock, by carefully planning your cuts and adjustments.
Final Thoughts
Shortening a tonneau cover is a precise task requiring careful measurement and marking before cutting with a utility knife.
Post-cut, secure the edges using heavy-duty adhesive or sewing to prevent fraying, ensuring the cover’s functionality isn’t compromised.
Accurate alterations are crucial for maintaining the cover’s protective qualities and fit.
Useful Resources
- https://www.designreview.byu.edu/collections/good-design-the-nrs-tie-down-strap
- https://na.usembassy.gov/wp-content/uploads/sites/132/2017/02/CDC-New-Vehicle-SUV-specifications-Feb.2017.pdf
- https://www.federalregister.gov/documents/2010/03/30/2010-6907/tire-fuel-efficiency-consumer-information-program
